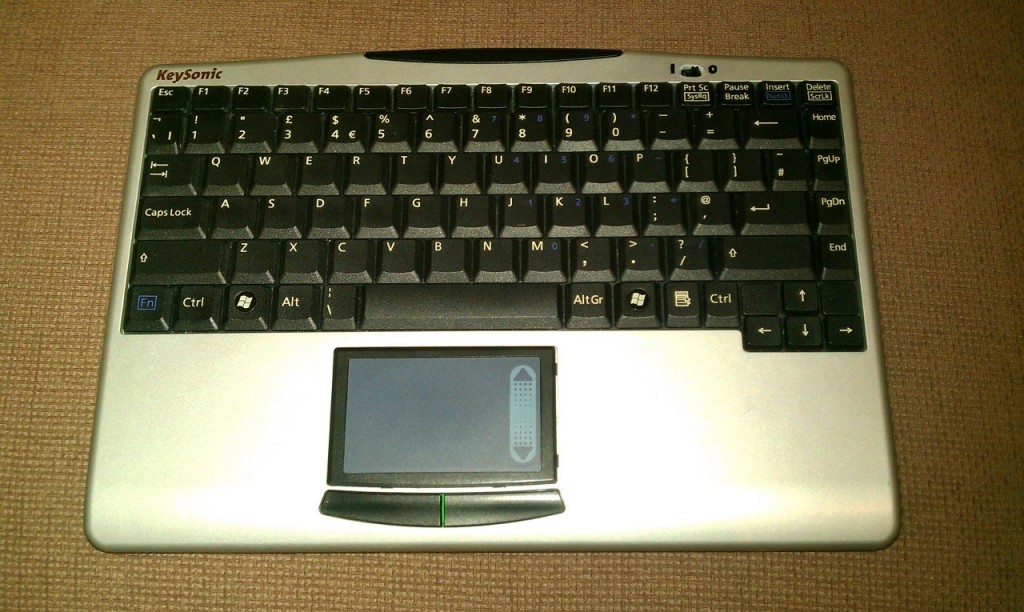
Tonight I had a quiet night in, leaving Hackers* running on the TV while hacking a power switch into my Keysonic wireless keyboard. It’s hard to justify modding a £35 keyboard, but I didn’t do it because it was a cost-effective means of solving my problem. I just wanted to do it.
* I do have a habit of watching Hackers when I’m actually hacking. It’s a bad film, but it puts me in the right frame of mind. Also, I really liked Angelina Jolie in that role. Not so much since.
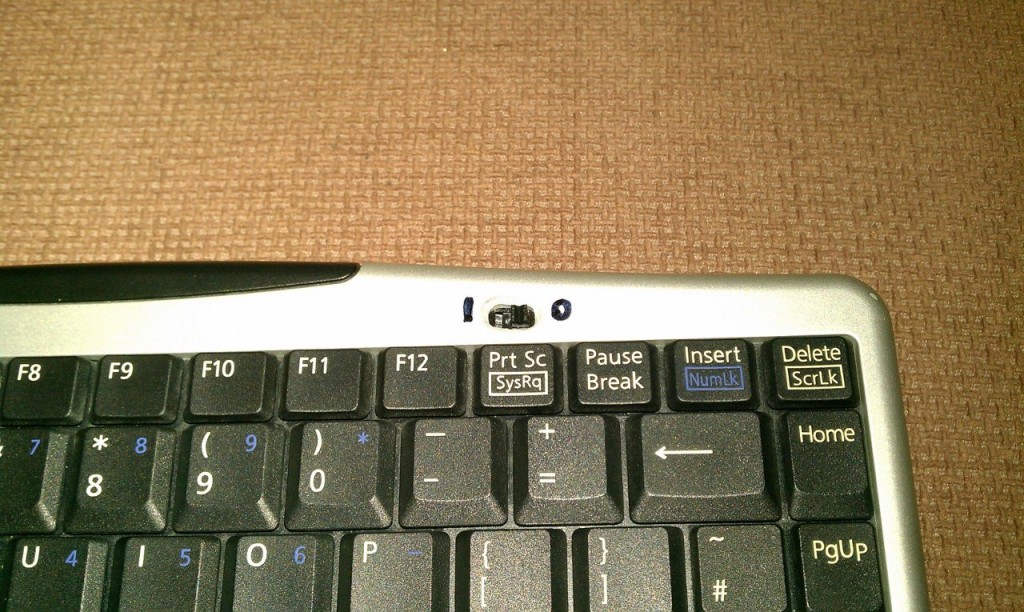
Behold, my improved keyboard!
The power switch is installed just above the Print Screen key.
Why add a power switch? This keyboard has a tendency to lose contact with its receiver, especially in London where the 2.4 GHz spectrum is totally flooded. The only way to correct it is to reinsert the USB receiver or the batteries, but both are inconvenient. Also, this saves power because the keyboard doesn’t remain in standby. Finally, there is much less risk of batteries leaking when the keyboard is idle for a long time (but powered), since that will no longer happen.
I used a simple slide switch from Maplin, some spare wire I had lying around, a drill, and a soldering iron. I wired the switch inline with the positive lead from the battery pack. It took about two hours. I know this because I only watched Hackers once.
This will now be my backup keyboard for my HTPC. I’m still using my Logitech diNovo Mini for everyday use, but sometimes it’s handy to type in longer amounts of text or press F# keys. Now I can pull this out, slide that slick new switch to “1” **, and type on a full-size keyboard.
** It’s technically a “|” character since it represents a completed circuit, but with my handwriting who can tell?


No comments
Comments feed for this article
Trackback link: https://www.tolaris.com/2012/07/21/adding-a-power-switch-to-my-keysonic-keyboard/trackback/